Access Control Simplified, Security Without Compromise
Enhance your facility's safety with our robust user-friendly security soltuion, designed for seamless integration and total protection.
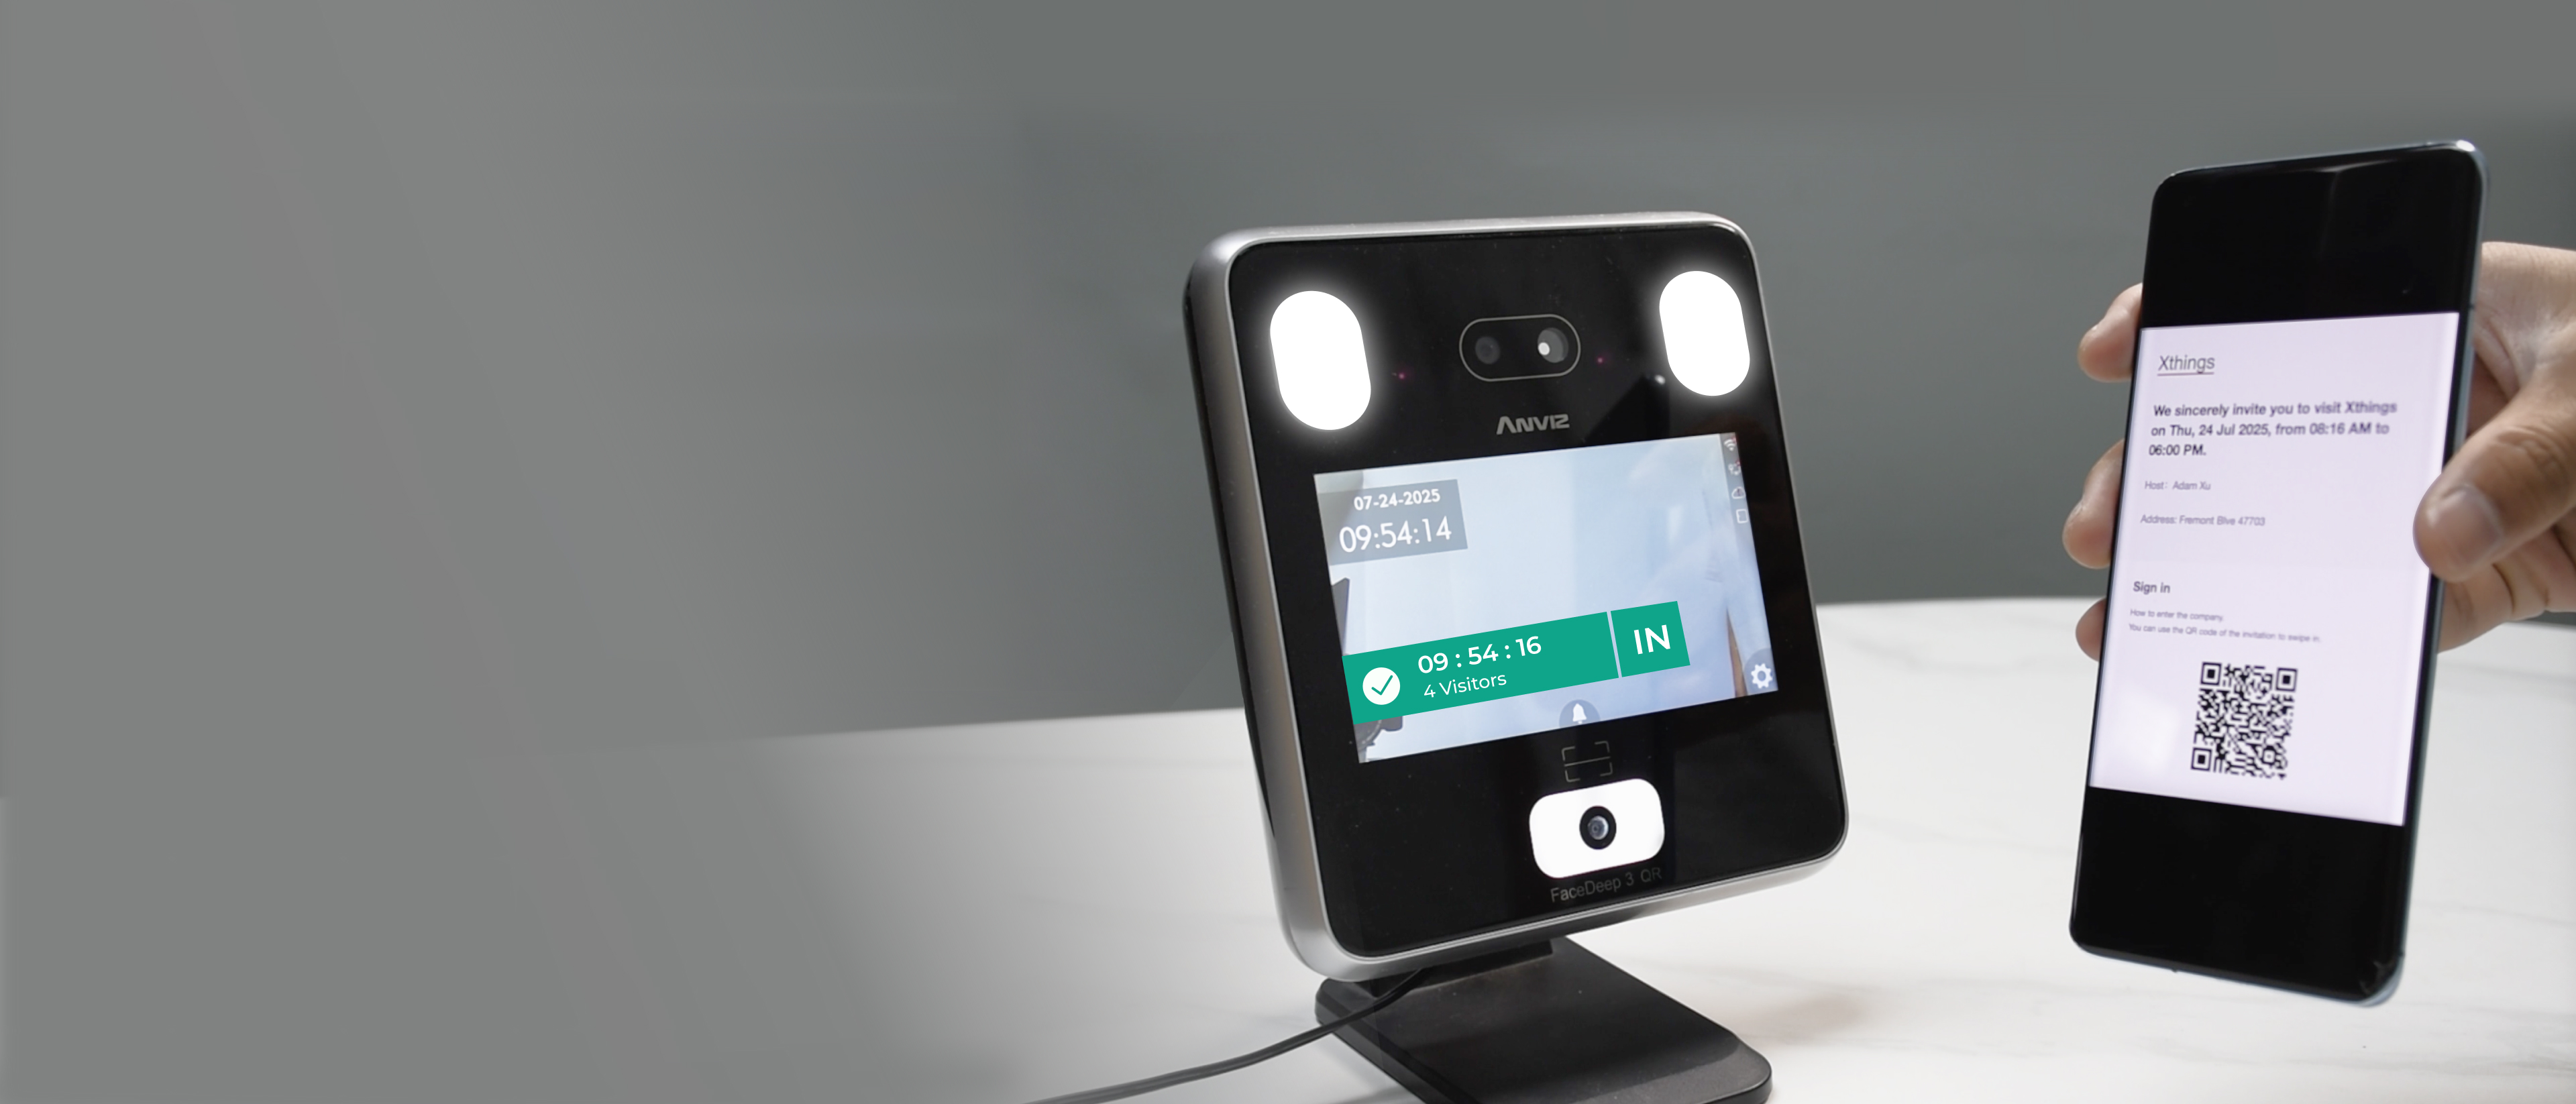
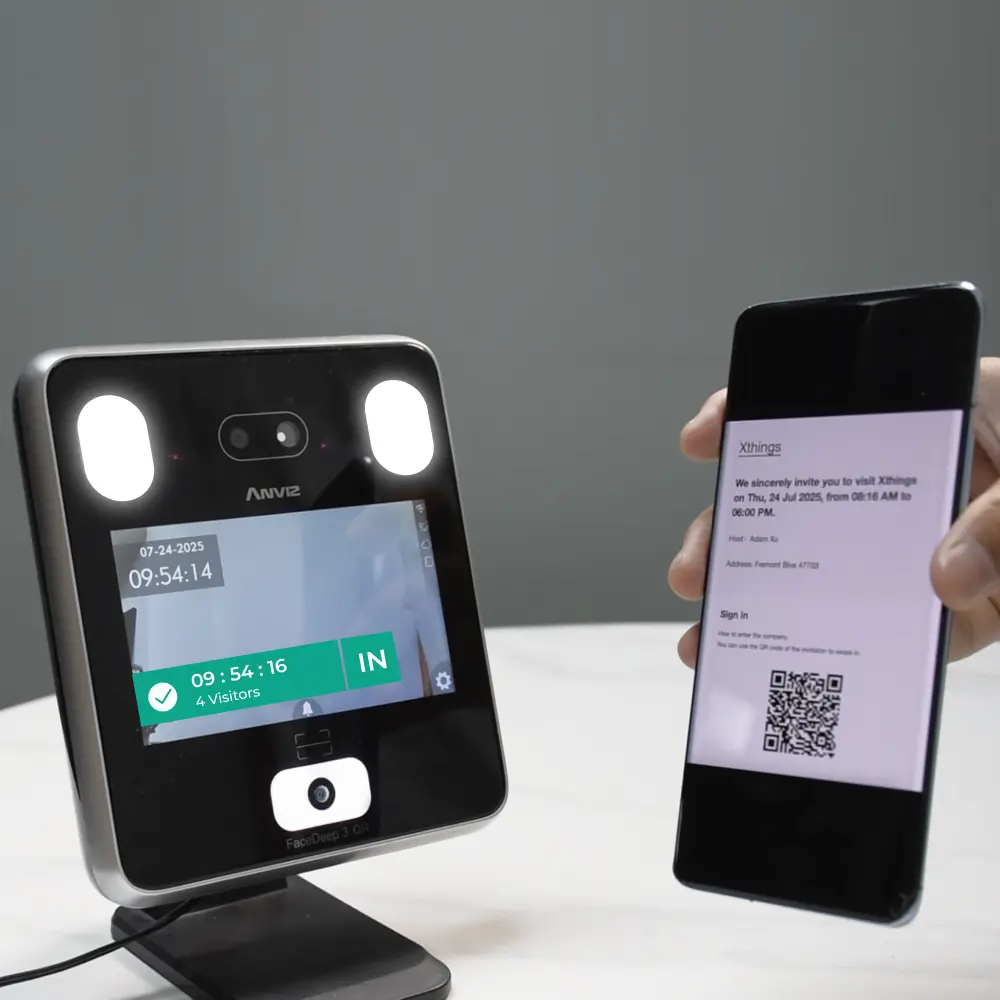
Simplify the visitor invite and check in process, while maintaining a smooth guest experience.
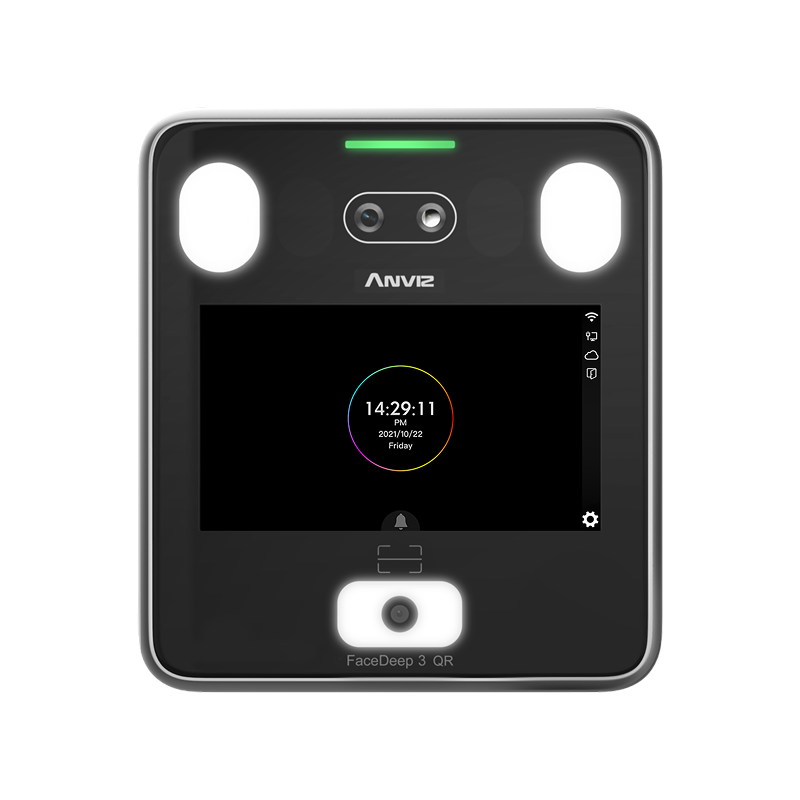
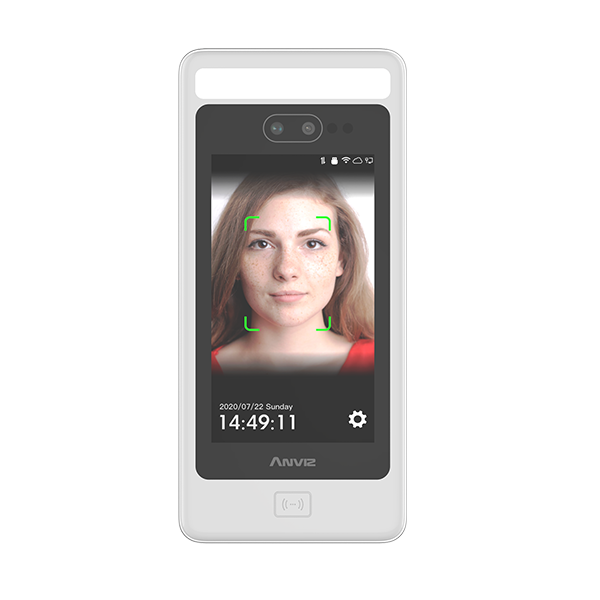
Visitor management, the FaceDeep 3 QR create an exceptional first impression, safeguard your people and property, with CrossChex Cloud's elegantly simple visitor management system.
Learn More
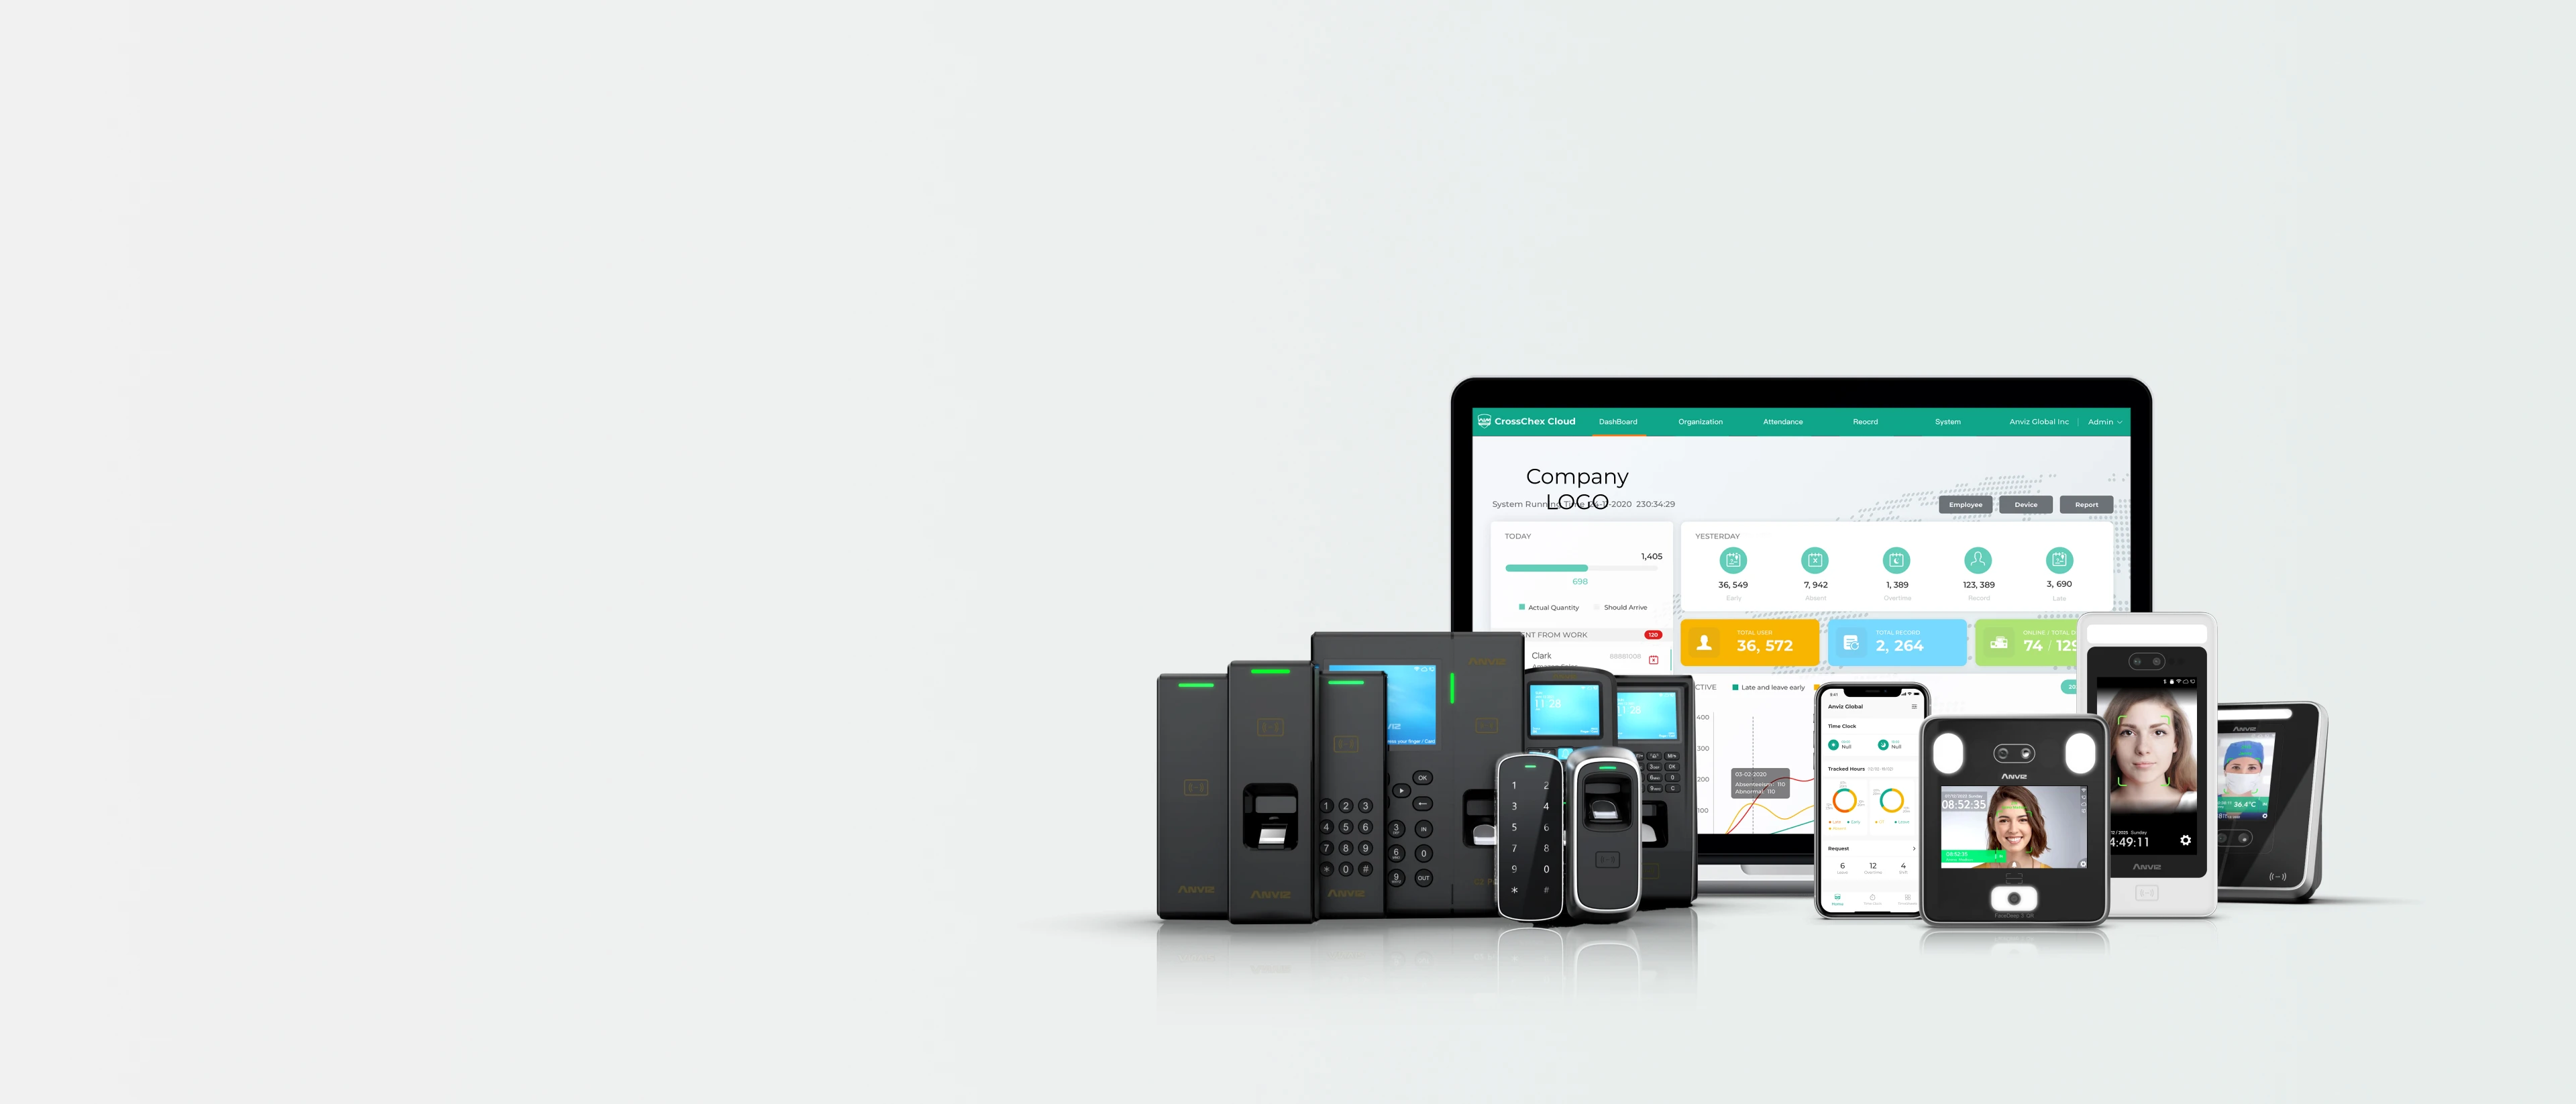
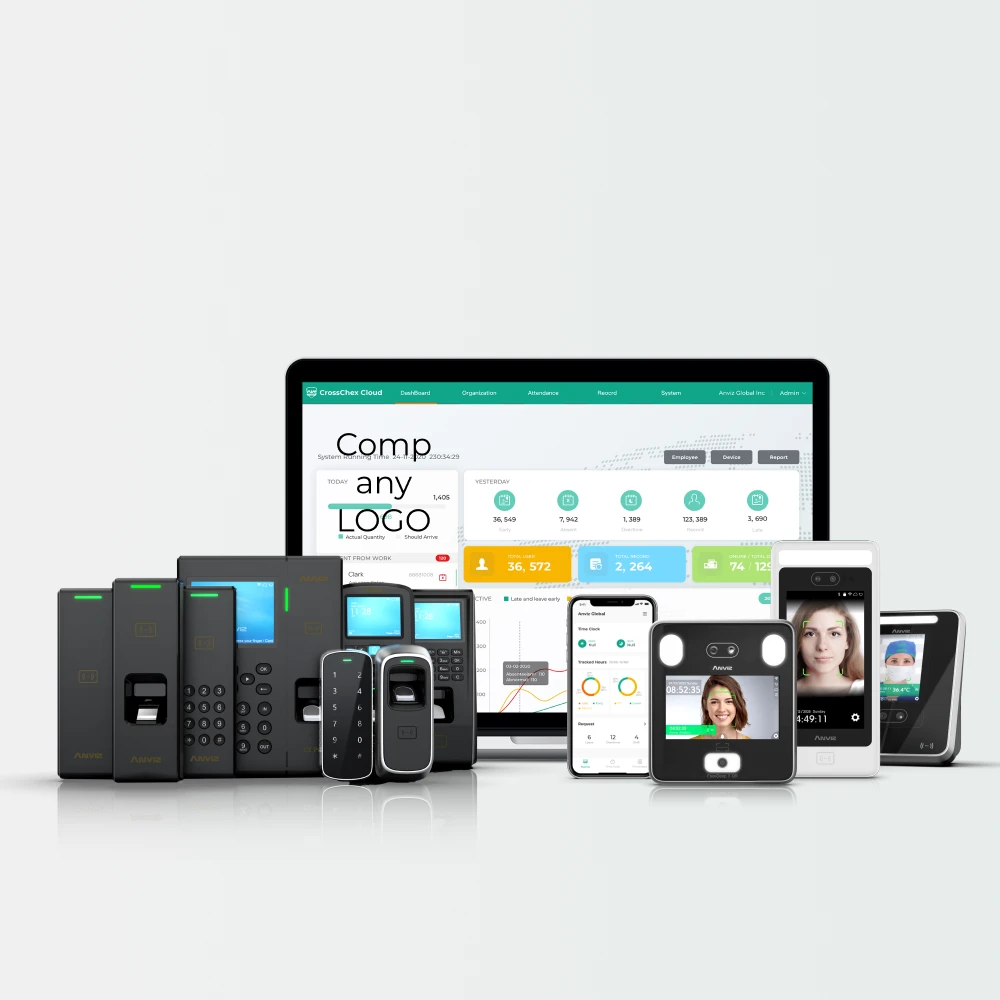
CrossChex Cloud
Cloud-based Time & Attendance Management Solution
Access your time and attendance dta from any intermet-connected device, or download the mobile app for even more flexibility.
What is CrossChex Cloud?
CrossChex Cloud is the all-in-one, cloud-based solution for managing employee time, attendance, and physical access. Accessible instantly from any internet browser, without installing software, it empowers you to manage your workforce securely from anywhere.
Why CrossChex Cloud?
Access data anywhere, anytime, from any mobile terminal.
The CrossChex Cloud mobile app empowers employees to independently check their attendance records and submit requests.
The convenient cloud system, paired with Anviz's access control and time attendance devices, helps you achieve effortless business management.
CrossChex Cloud Offers the Best Way to Manage
Your Employees’ Hours
Best-in-Class Scheduling
Easily set up attendance rules, create, and manage employee schedules for all your organization.
Powerful Dashboard
The handy dashboard lets you easy to track employee attendance by real-time analytics.
High-Impact Reporting
Easily track and export employee hours in seconds which makes you feel intuitive with daily processes.
Super Easy Employees and Devices Management
Easy and quick to set up devices and add, delete, or modify employees’ information no matter how many employees and organizations you are managing around the world.
Mobile Punching and Tracking
Employees can remote punch and track their own attendance records by CrossChex Mobile App.
Flexible access control privilege settings
Access schedules and Access groups are designed to configure entry permissions for different personnel.
Invitation-Based Visitor Management
A streamlined access control system where pre-authorized guests are granted entry upon presenting a valid QR invitation.
- Scheduling
- Dashboard
- Reporting
- Management
- Mobile
- Access
- Visitor
Innovative Features
~
| Current Version | |||
|---|---|---|---|
| System | |||
| Multi-Location | √ | ||
| Multi-level Administrator & Superviser | √ | ||
| Activity Dashboard | √ | ||
| Attendance Management | √ | ||
| Shift Scheduling | √ | ||
| Group Scheduling | √ | ||
| Time Tracking | √ | ||
| Approval Process Control | √ | ||
| Time Attendance Clock | √ | ||
| Body Temperature & Mask Detection | √ | ||
| Employee | |||
| Employee Scheduling Management | √ | ||
| Employee Department Assignment Management | √ | ||
| Employee Management | √ | ||
| Employee Database Import / Export | √ | ||
| Reporting | |||
| Data Synchronization | √ | ||
| Real Time Data & Reporting | √ | ||
| Historical Reporting | √ | ||
| Summary Reports | √ | ||
| Reoprt Email Alerts | √ | ||
| Access Control | |||
| Access Controls / Permissions | √ | ||
| Remote Access / Control | √ | ||
| Visitor Management | √ | ||
| Mobile APP | |||
| Geolocation & GPS | √ | ||
| Mobile Access | √ | ||
| Mobile Time Tracking | √ | ||
| Exceptional Alerts & Notifications | √ | ||


See CrossChex Cloud in Action
Contact us for a free demo and consulation.
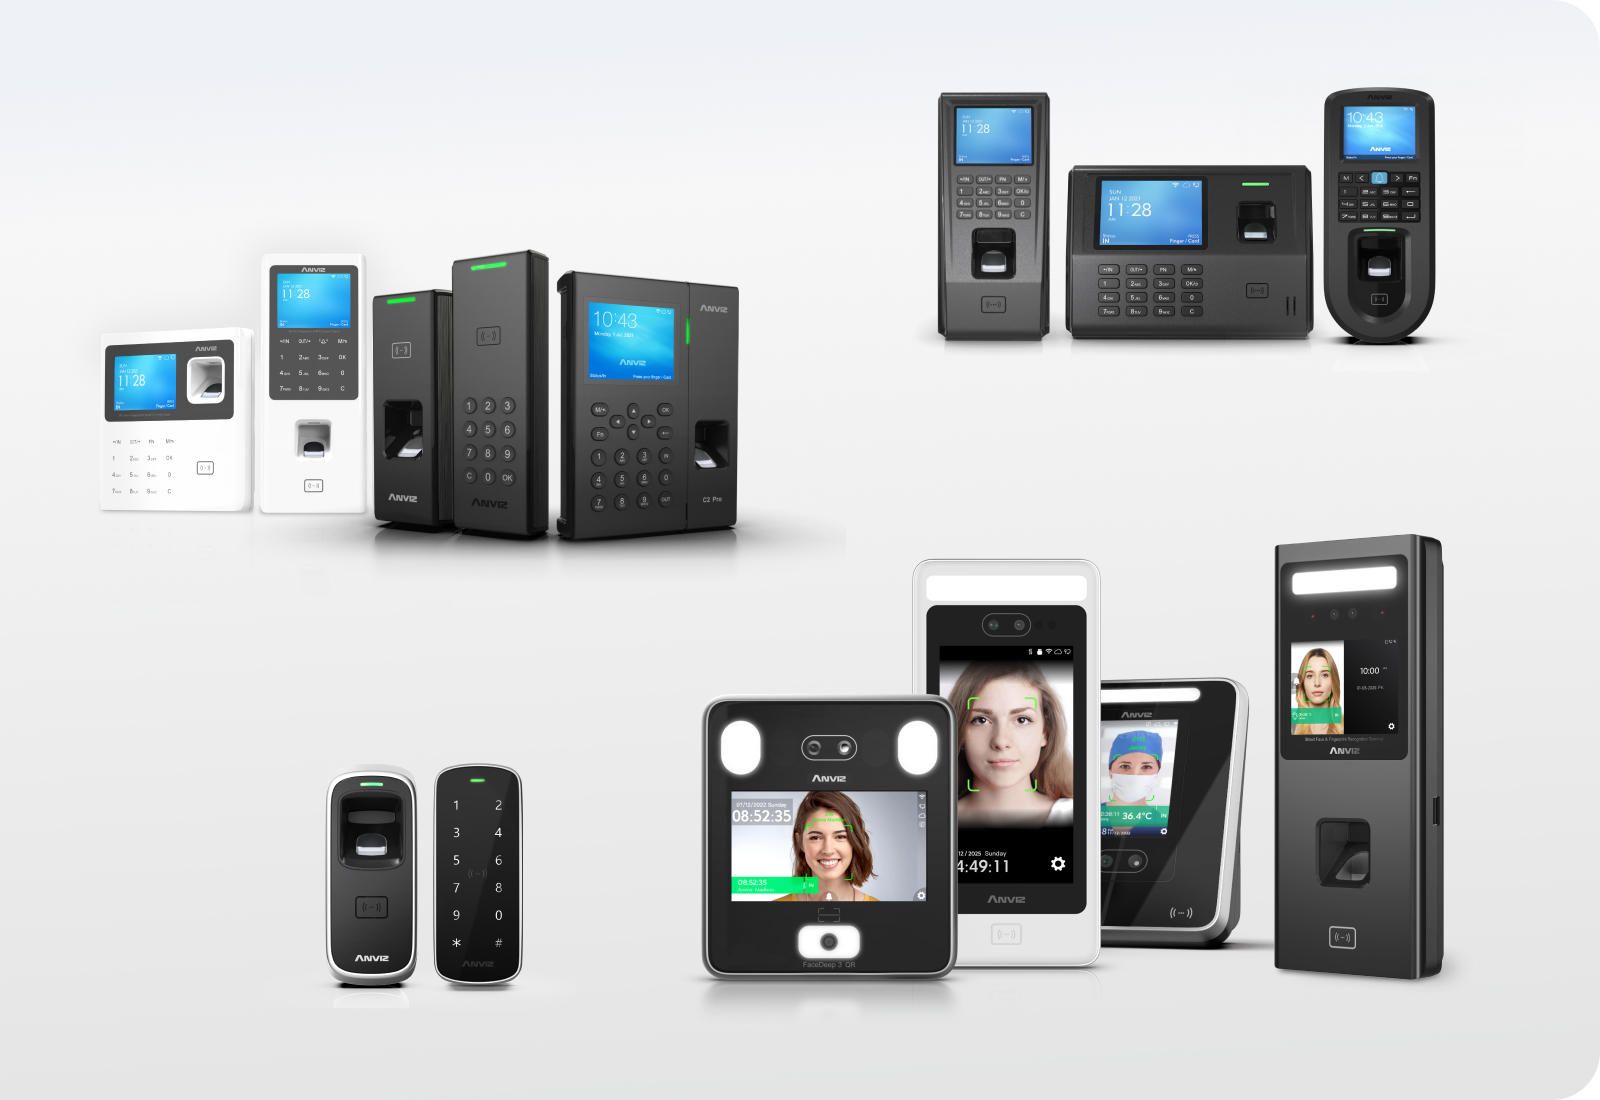
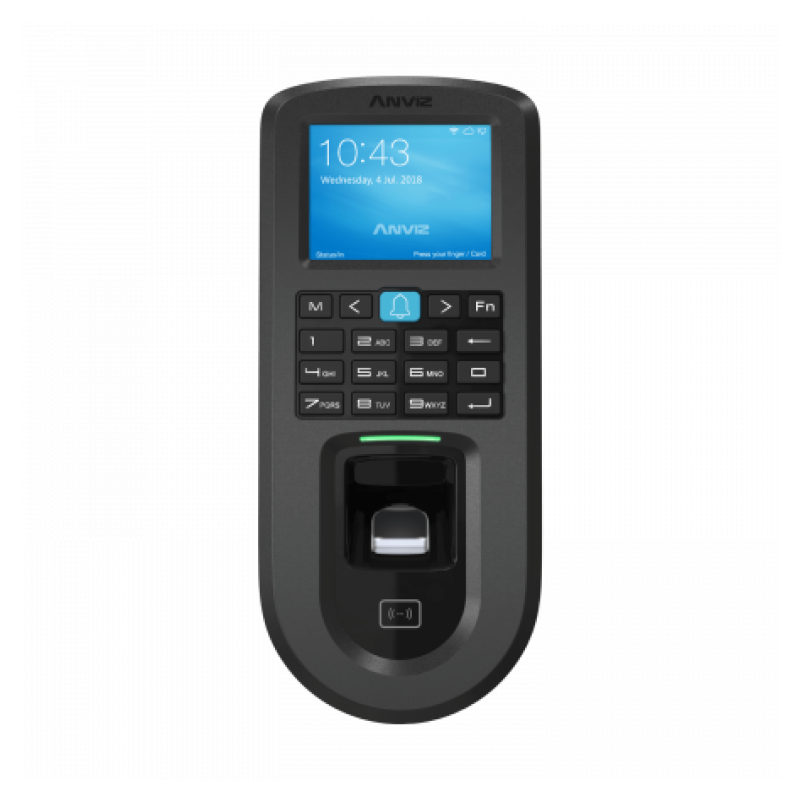
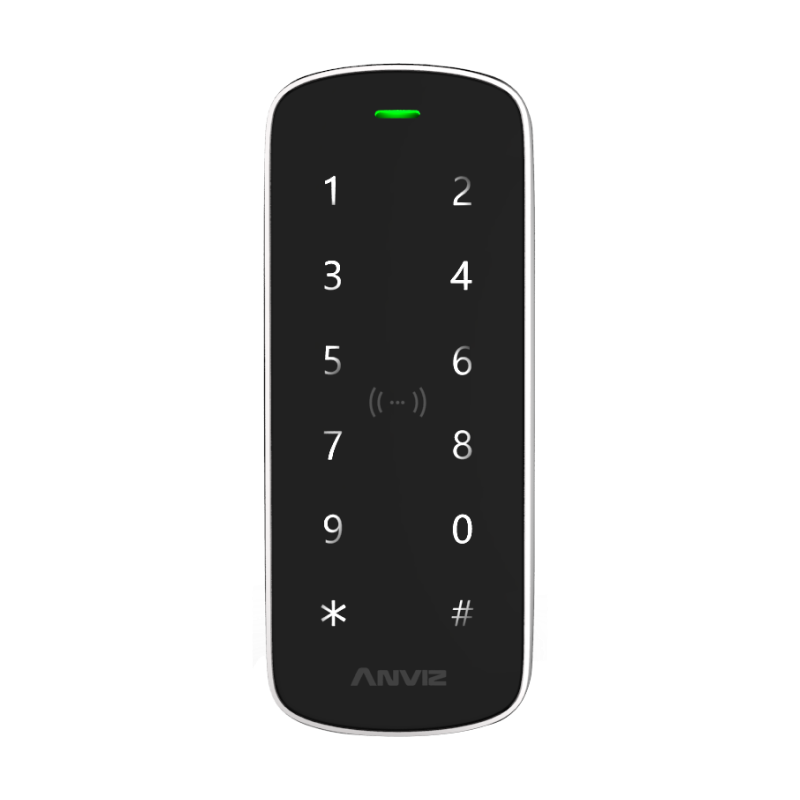
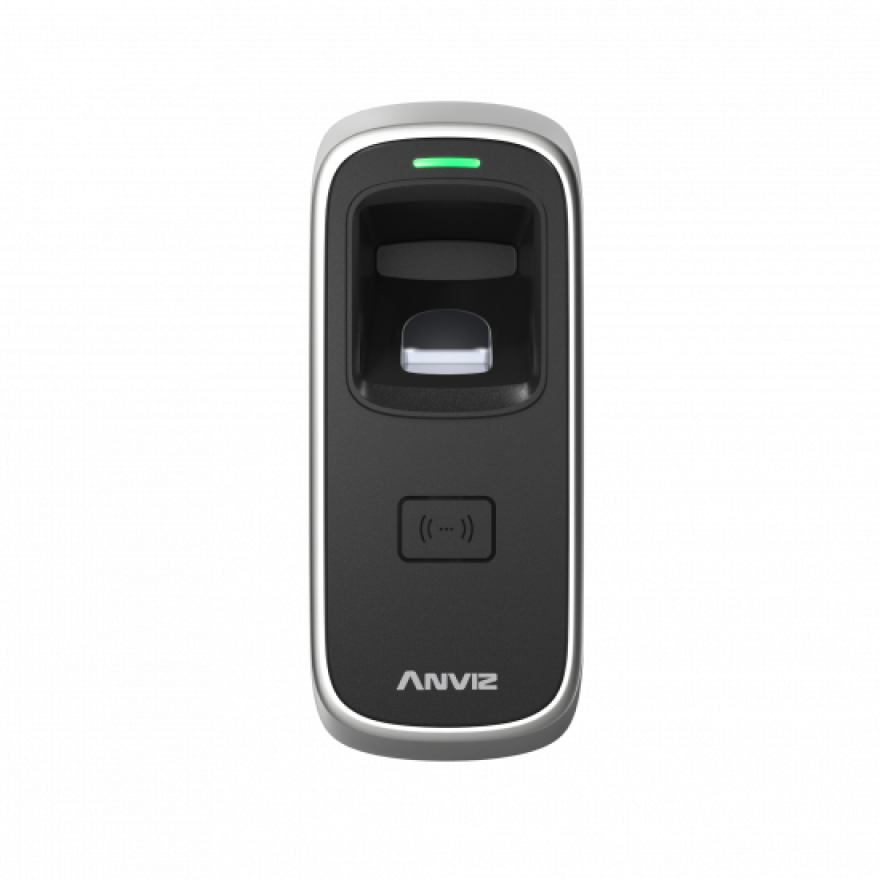
Related Access Control Products
Related Faq
-
CrossChex Cloud Subscription's FAQ List 04/16/2025
What is CrossChex Cloud Subscription?
- Since our launch, we have strived to deliver an efficient and secure experience through regular updates and improvements. To better serve you, we are introducing a subscription-based model for CrossChex Cloud, which is called CrossChex Cloud subscriptions.
Where can I find the CrossChex Cloud Subscription Notice?
- Upon signing into the CrossChex Cloud account, a pop-up notice will appear, displaying information about the CrossChex Cloud subscription. Please check the screenshot as a reference below:
What new and additional features are available in CrossChex Cloud with a subscription?
- Once you complete the subscription, you will be able to enjoy the following features:
- Subscription Lifetime Hardware Warranty;
- Expand management and control of up to 5 Geo Locations. With the CrossChex Cloud Mobile APP, you don’t need more clocking machines to manage attendance in multiple office locations and mobile personnel. (One subscription administrator account with 5 Geo Locations );
- Supports a scheduled email push function so you can receive employee attendance reports without having to log in to the system frequently;
- Keep the System Upgrade function.
- Multiple administrator roles
What types of licenses are available in CrossChex Cloud?
- There are two kinds of subscriptions for CrossChex Cloud, which are as follows:
1. Additional Device Subscription (For adding more than one device)
2. Additional Administrator Subscriptions (For assigning more than one admin)
What are the subscription prices and plans?
- Free Tier: (1 administrator account + 1 connected device)
No cost for basic usage.
- Paid Subscription Plans and Price:
Additional administrators: $199/year per account.
Additional devices: $99/year per device.
Do I need to pay if I have only one device and admin?
- No, you don't need to pay. It covers our free tier plan, where one administrator account + one connected device is free of cost.
What license durations are available, such as monthly, yearly, etc.?
- Currently, we only have the yearly subscription.
Where can I buy licenses?
- To buy licenses, go to the CrossChex Cloud website, log in to your cloud account, and navigate to Main menu → Settings → Product. Please check the screenshot for your reference below:
How can I purchase licenses?
- You can purchase licenses with a few clicks. Just visit the CrossChex Cloud website, log into your cloud account, navigate to Main menu → Settings → Product → click on the Buy Now Button, then pay and enjoy the new features. Please check the screenshot for your reference below:
What payment methods are accepted for purchasing licenses?
- You can purchase a CrossChex Cloud subscription using your Visa card, Credit card, Mastercard, American Express, and Union Pay.
How can I activate my purchased subscription?
- You can check the captures below to apply the license to devices and admins. But before that, you must ensure you have purchased the license in advance.
How can I get a refund?
- Yes, we can refund those who purchase the wrong license or want to cancel the order. But if you have already applied the license, we will no longer refund it.
- To get the refund, please share the payment info, including the four digits of the payment card, the purchase orders, the paid amount, and the company ID. Please send that info to our support team at support@anviz.com, and you can check the refund result in 5 working days.
What is the refund policy?
- We only support refunds for those licenses that aren't applied to devices or admins. Once they are applied, we will not refund them anymore.
Will an invoice be issued after the purchase? Is it an international invoice? Mexican customers require an invoice from Mexico with tax verification. How should I proceed?
- Once our accounting system is ready, we can issue invoices. However, the current financial consultation indicates that the invoice is coming from the United States, as the cloud service is hosted there and payments are also made to the U.S. Since we do not have tax filings in Mexico, we cannot issue Mexican invoices. We'll provide a US-standard invoice instead.
How can I transfer the license? If the device is damaged, will the license be lost? Could you transfer the license to another terminal?
- If the device is damaged, the license will remain intact. It can be transferred to another device through technical support at support@anviz.com.
Can the grace period be extended to one year for existing customers?
- We're sorry to inform you that we don't support extending the grace or free trial period for our CrossChex Cloud service. If you have any problems with this, please feel free to contact us at support@anviz.com.
How can I transfer a license from one device to another, for example, if the device is broken? Is it possible?
- Yes, it's possible. Please send your request, including the devices you want to transfer and your company ID, to our support team at support@anviz.com. We'll attend to the request immediately, and you can check the result in 24 hours.
Can I still use the CrossChex cloud if the free trial is over?
- If you only have one device and one admin, you can keep using the CrossChex Cloud freely when he free trial is due. But if you have more than one device or admin, you must purchase the license to keep using the Cloud.
How many Geo locations are allowed with a free account?
- Currently, we only offer 1 Geo-location in our free CrossChex Cloud account. If you subscribe, you can enjoy up to 5 Geo locations.
If the license expires, can I access previous data?
- We recommend that you back up the data from the device in advance, including the user info and attendance records. Once the license expires, you can no longer access the data and users on the devices from CrossChex Cloud.
If you have any other problems with the CrossChex Cloud service or Anviz products or feedback, don't hesitate to contact our support team at support@anviz.com.
Best regards,
Anviz Support Team
-
We have updated many new features on our CrossChex Cloud, such as Geo Location.
For more information on this, please refer to Geo Location (Wiki).
Below is a short guide on the setup of the Geo Location.
Preparations:
CrossChex Cloud
CrossChex Cloud mobile app
___________________________
#1 Log into the CrossChex Cloud with your registered email address.
#2 Go to Settings-Geo Location.
Note: There are two types of Geo Location mode, GPRS and Required.
*GPRS mode: With GPRS mode, employees can use their CrossChex Cloud mobile app to punch IN&OUT anywhere and anytime.
*Required mode: With Required mode, employees can use their mobile app to punch IN&OUT around the Geo-locations you set in advance.
#3 Set the Geo-fencing mode and confirm to apply.
1) With GPRS, you don't need to set anything.
2) With the Required mode, you can choose if the employees need to take photos when punching IN&OUT remotely.
Our Required mode supports setting up to 5 sites for remote punching.
You can pick up the Geo Location sites on Google Maps directly where you want to allow for remote punching. Meanwhile, you can set the range distance of the punching sites, as shown in the below capture.
#4 When the Geo Location is configured, employees can use the CrossChex Cloud mobile app to punch remotely.
___________________________
For more information on how to set the CrossChex Cloud mobile app to work with the CrossChex Cloud, you can refer to How to Make CrossChex Cloud App Work with CrossChex Cloud.
Currently, only users with a paid license can add 5 Geo Location sites. And with an extra admin license, you can add more than 5 sites.
Users of the free tier can only add 1 Geo Location site at the moment.
For more information on the use of CrossChex Cloud app, you can refer to the PDF attached.
We're looking forward to your feedback on this feature. If you have any problems with it, please feel free to contact us.
Best Regards,
Anviz support team.
-
We appreciate your continued trust in Anviz products and services.
With this guide, we will help you build the on-Cloud T&A system with CrossChex Cloud App and CrossChex Cloud.
Preparations:
CrossChex Cloud
CrossChex Cloud mobile app
_______________________________
#1 Log into the CrossChex Cloud with your registered e-mail and password.
#2 Go to the Employee page and edit the role and password for employees.
Example:
Company ID: 110010925
Employee: Michel
ID: 10, password: 123
Note: If you want to enable remote punching, make sure you check the options.
#3 Download the app from Google Play or the App Store and fill in the company ID and user info.
#4 Check T&A details, Request application, and Remote punching.
#5 The admin can view the employee's records and requests on the Cloud.
We don't have the admin version of the CrossChex Cloud mobile app. For a better user experience, we recommend you use the CrossChex Cloud to manage the devices and T&A work.
_______________________________
This guide briefly introduces how to make the CrossChex Cloud app work with CrossChex Cloud. If you have any questions on this, please feel free to contact us anytime at support@anviz.com.
Best Regards,
Anviz Support Team
-
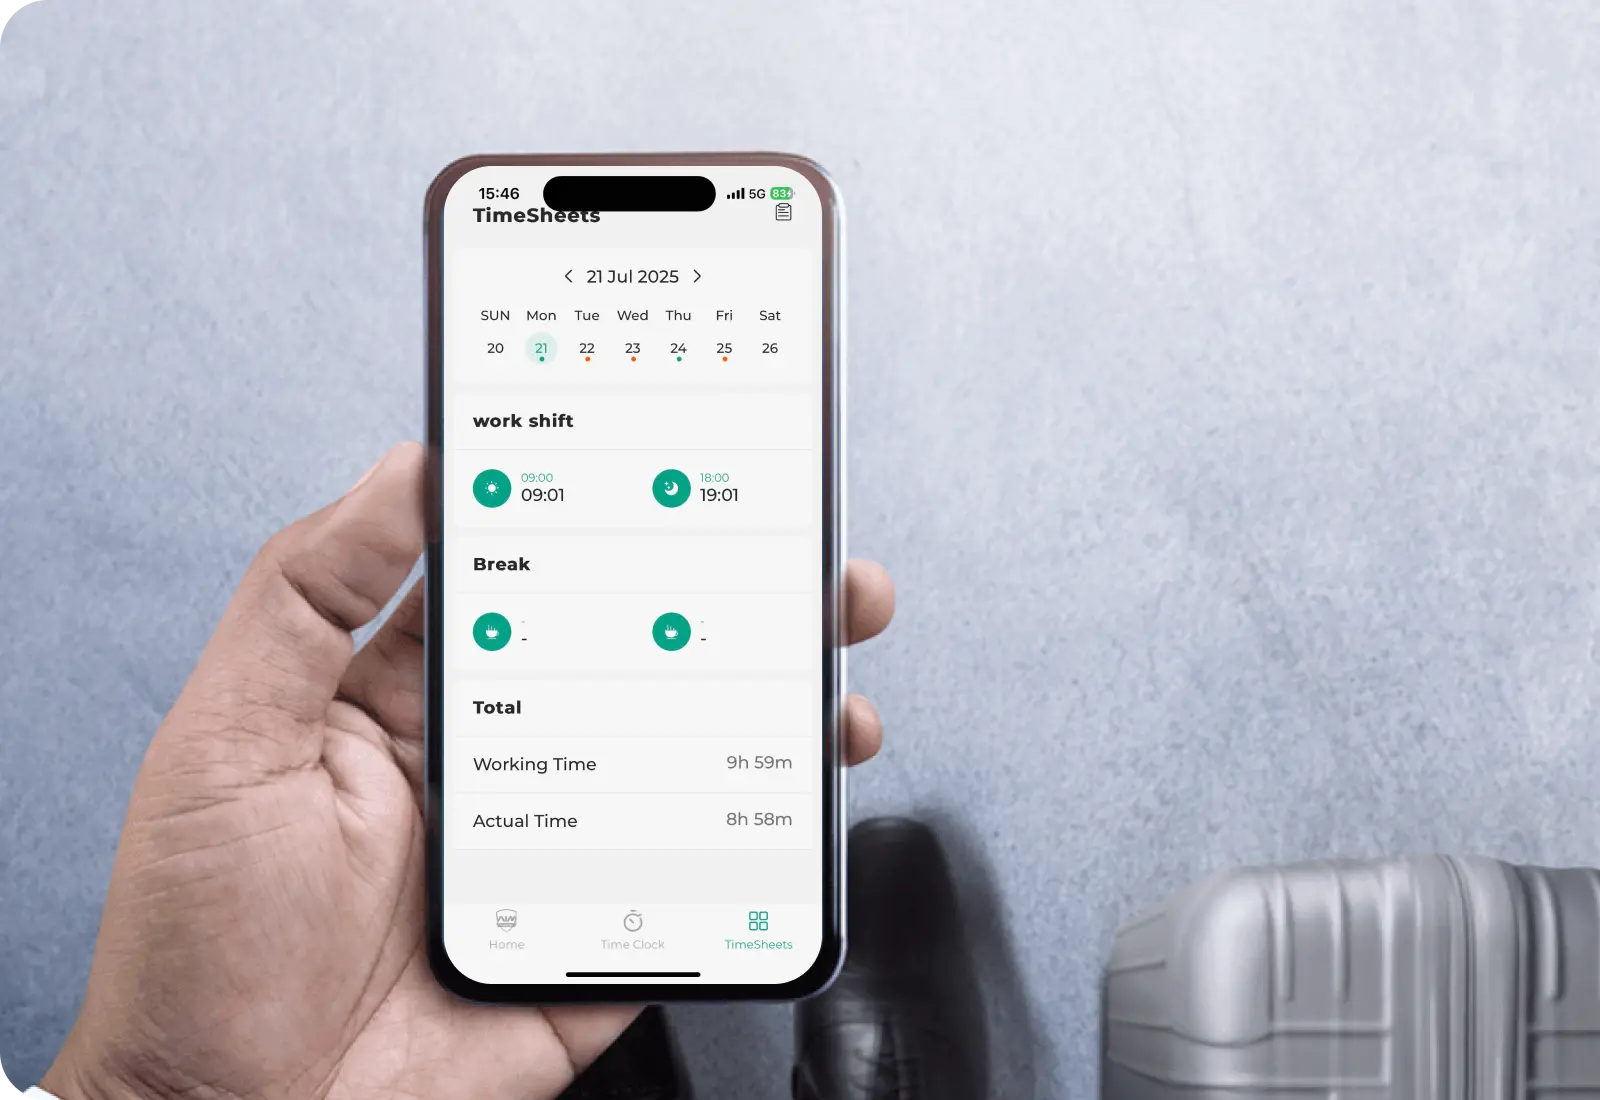
When you apply the flexible shift mode on CrossChex Cloud, you may encounter the issue below regarding the working time calculation.
You can check the sample below:
The first punch is made at 09:00 and the last at 18:00. Therefore, the working hours are supposed to be 9 hours. However, as shown in the capture below, the result is 4 hours and 30 minutes.
Why is that?
Let's find out!
Sample shift setup below:
Total hours: The weekly working hours.
Split Timesheets: When the working day begins for employees (used for overnight shift).
Minimum working hours: The minimum working time needed for a valid punch.
You can find all the punches made by the employee on the day, which are:
09:00--09:30--10.30--11:29--13:30--16:30--18:00
Considering the minimum working time is 60 minutes, the valid punches would be:
09:00--10.30--13:30--16:30--18:00 (18:00 is discarded as there is no punch OUT)
The working hours would be:
10:30-09:00=01:30
16:30-13:30=03:00 Totally 4:30.
### How can you avoid situations like this?
#1 Set the minimum working time to a shorter time, for example, 1 minute, to make each punch valid.
#2 Make sure to punch IN/OUT whenever you access or leave the office.
If you still have issues with calculating the working hours on CrossChex Cloud, please feel free to contact us at support@anviz.com.
Best Regards,
Anviz Support team
-
How to fix if Cloud can't be connected 04/16/2025
Before we get to the topic, please first make sure that you have correctly followed the procedure of connection. Connect Device
There are many kinds of cases of Cloud connection failure. They could be very complicated while we’re trying to make it simple for you to understand. So we suggest you read this article in its entirety. It will guide you through some basic initial steps to effectively resolve a common cloud connection failure.
Before that, you need to know the following:
As we know, you can quickly check the connection status on the device's desktop. The icons will be marked when they’re not connected.
But for icons of Ethernet and WiFi, not being marked doesn’t mean that they’re fully connected to the Internet. It only refers to the device and Ethernet/WiFi are connected.
A successful connection to your network will result in a valid IP address and gateway, subnet, and DNS information (consistent with your network) displayed in the device menu's Ethernet/WIFI settings. An unsuccessful connection will either display invalid or inconsistent data in the network settings on the device.
In this case, if you encounter the following situations:
a. Both Ethernet/WiFi and Cloud are failed in connection.
b. Ethernet/WiFi is connected but Cloud failed.
c. Cloud is connected but disconnected in a minute.
The possible reasons and how to do it are listed as follows. Please give these solutions a try:
1. Internet environment.
Check the device setting to see if WAN mode is set to the connection method you choose. (Network -> Internet -> WAN mode)
2. WiFi signal is too weak.
Try to connect to a different WiFi. (5G WiFi is not supported.)
**The WiFi signal value only shows the signal strength. The WiFi might also be unstable or have a large delay if the signal strength value is in the suitable range.
3. Temporary delay in getting IP.
Try to connect the Ethernet/WiFi again. This problem might be caused by an unstable connection.
4. Enter the wrong Cloud ID and password
Cloud ID and password can be found in CrossChex Cloud "Settings" tab. Make sure they are correctly input.
5. You can restart the device. It’s a way that somehow works for each kind of case.
If Cloud still cannot be connected after trying the above, please contact us with a video showing all the settings and your procedure for connection. We’ll assist you further.
Related Download
- Manual 2.5 MB
-
W Series Quick Guide(W1/W2)
05/16/2017
2.5 MB


- Brochure 976.3 KB
-
Anviz_W1Pro_Flyer_EN_08.15.2019
08/15/2019
976.3 KB
- Image 9.4 MB
-
W1 Pro Pictures (High Res)
11/22/2019
9.4 MB
- Brochure 1.0 MB
-
Anviz_W2Pro_Flyer_EN_02.22.2021
02/22/2021
1.0 MB
- Manual 6.6 MB
-
Anviz-W Pro Series-Quick Guide-V1.1-EN
04/02/2021
6.6 MB
- Brochure 13.2 MB
-
2022_Access Control & Time and Attendance Solutions_En(Single page)
02/18/2022
13.2 MB
- Brochure 13.0 MB
-
2022_Access Control & Time and Attendance Solutions_En(Spread format)
02/18/2022
13.0 MB